 English
 русский
 Español
No. 200 Gaoxin RD, Shanghua St, Lanxi, Zhejiang, P. R China
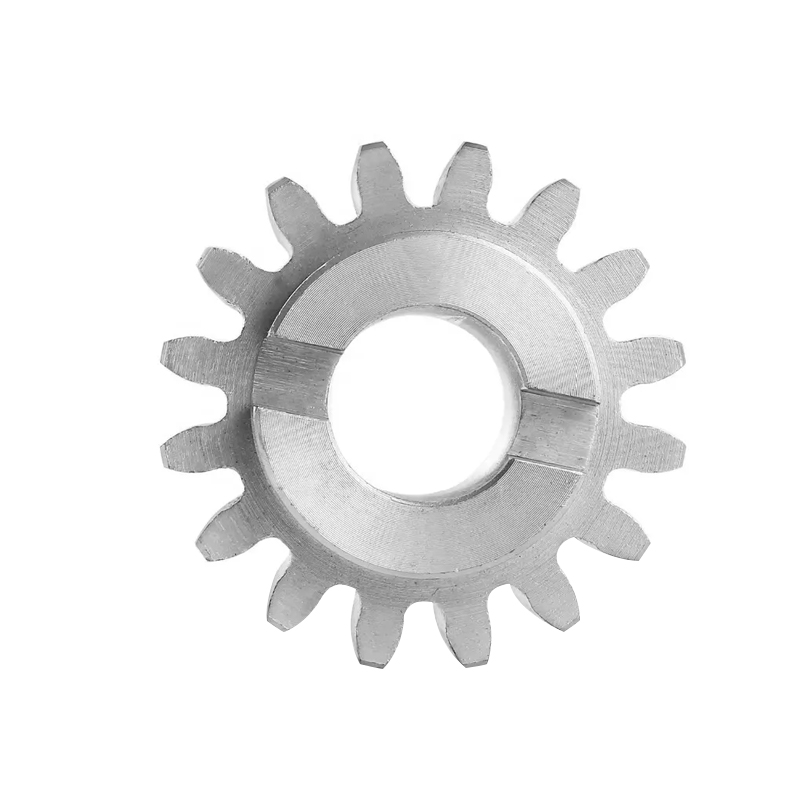
The Sliding Doors Steel Rack Pinion Gear is a critical component in va...
See DetailsInstalling a sliding gate V groove track is a relatively straightforward project that can improve the stability and ease of gate movement. Here's how to do it step by step.

Step 1: Measure and Mark
Start by measuring the length of the track required based on your gate width. Use a chalk line or straight edge to mark a guideline on the concrete where the track will be placed.
Step 2: Prepare the Surface
Ensure the surface is clean, flat, and free from debris. If the concrete is uneven, use a grinder to smooth it out or apply a thin concrete patching layer to level the area.
Step 3: Align the Track
Lay the V groove track along the marked line. Confirm alignment using a spirit level and make adjustments as necessary.
Step 4: Fix the Track
Drill holes through the track and into the concrete. Use expansion bolts or appropriate fasteners to secure the track in place. Ensure it is tightly fixed to prevent movement during gate operation.
Step 5: Test the Gate
Roll the gate over the track to verify smooth operation. Minor adjustments can be made if any resistance is observed.
This simple yet effective upgrade improves gate stability and longevity, especially in areas subject to frequent use.
Sliding Wheel for Door: Step-by-Step Replacement Guide
Sliding doors offer space-saving convenience, but their wheels can wear out over time, causing difficulty in operation. Here's a guide for replacing a worn sliding door wheel:
Step 1: Remove the Door
Start by lifting the door off the track. Depending on the weight and size, this may require a second person. Set the door aside carefully on a soft surface.
Step 2: Locate the Wheel Assembly
Flip the door to locate the bottom wheel housing. Many sliding doors have adjustable roller assemblies secured with screws or brackets.
Step 3: Remove the Old Wheel
Unscrew the wheel assembly from the door. In some models, you may need to pry out a cover plate. Remove the wheel and note its dimensions and type to match a suitable replacement.
Step 4: Install the New Wheel
Fit the new wheel into the assembly, securing it with screws as per the manufacturer's guidelines. Some wheels allow height adjustments, which should be set at a medium position for initial fitting.
Step 5: Reinstall and Adjust
Place the door back onto the track and adjust the wheel height if needed to ensure even sliding and proper alignment. Lubricate the track with a silicone-based spray for improved motion.
Replacing a sliding door wheel is a cost-effective solution that restores the functionality of the door without requiring full replacement.
Hinges are not just mechanical components—they contribute to the visual and functional design of doors and cabinetry. Flange bearing hinges, known for their durability and smooth motion, also offer a clean and contemporary look suitable for modern interiors.
These hinges incorporate integrated bearings that reduce friction and wear, making them ideal for doors that are used frequently or carry substantial weight. Their flange mounting design ensures a secure attachment to the door and frame, stress on the surrounding material. This is particularly beneficial in solid wood or metal doors where long-term performance is essential.
From a design perspective, flange bearing hinges are available in brushed stainless steel, matte black, or satin finishes, all of which blend well with minimalist and industrial-style interiors. Their clean lines and low-profile structure support the aesthetics of modern architecture by avoiding unnecessary visual clutter.
Additionally, their concealed or semi-concealed installation options allow for a sleeker appearance, especially in custom-built cabinetry, pocket doors, or high-end passageways.
When choosing flange bearing hinges, it's important to consider door weight, opening angle, and mounting compatibility. Investing in high-quality hardware not only improves performance but also supports a cohesive and refined design throughout the home.
The Sliding Doors Steel Rack Pinion Gear is a critical component in va...
See Details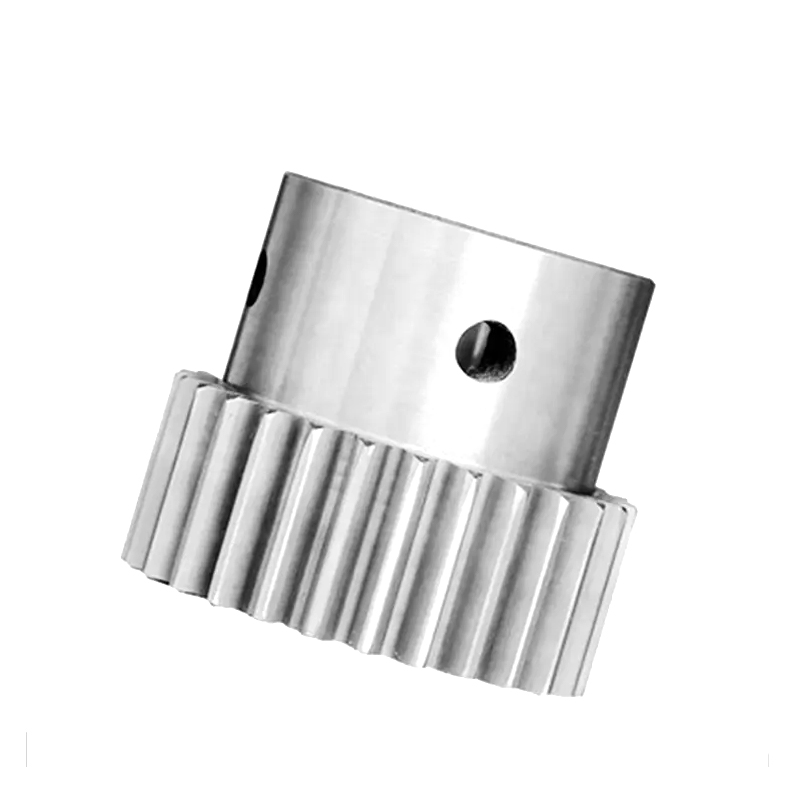
The Stainless Steel Stepped Rack Pinion Gear is a highly versatile and...
See Details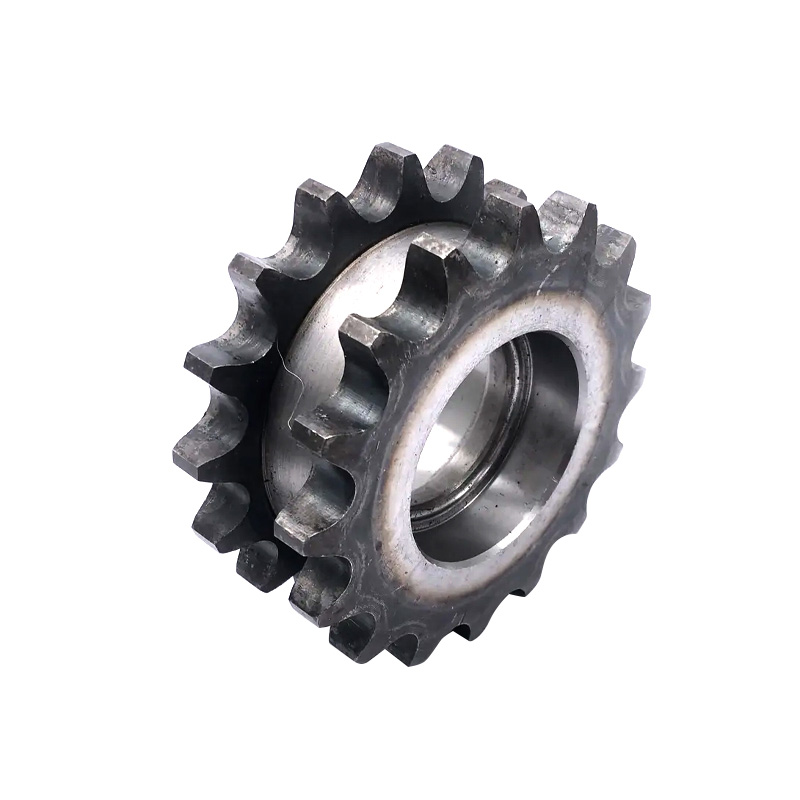
The Double Pitch Sprocket Rack Pinion Gear is a specialized mechanical...
See Details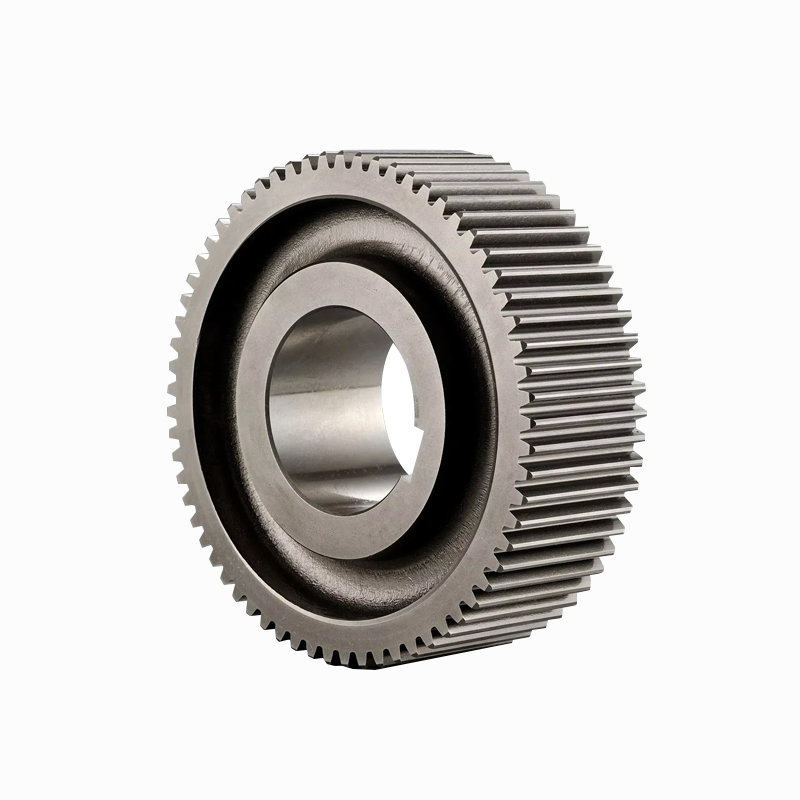
The High Precision Gear Shaft Rack Pinion Gear is a vital component in...
See Details
Linear precision guides helical gear rack is a transmission component ...
See Details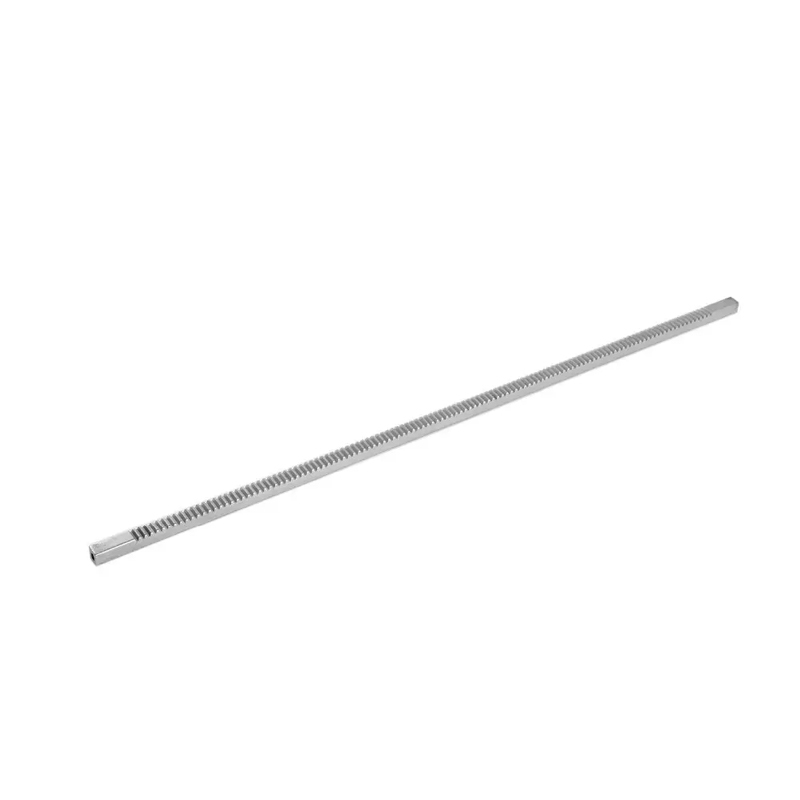
Industrial Wear-Resistant Straight Gear Rack is a linear transmission ...
See Details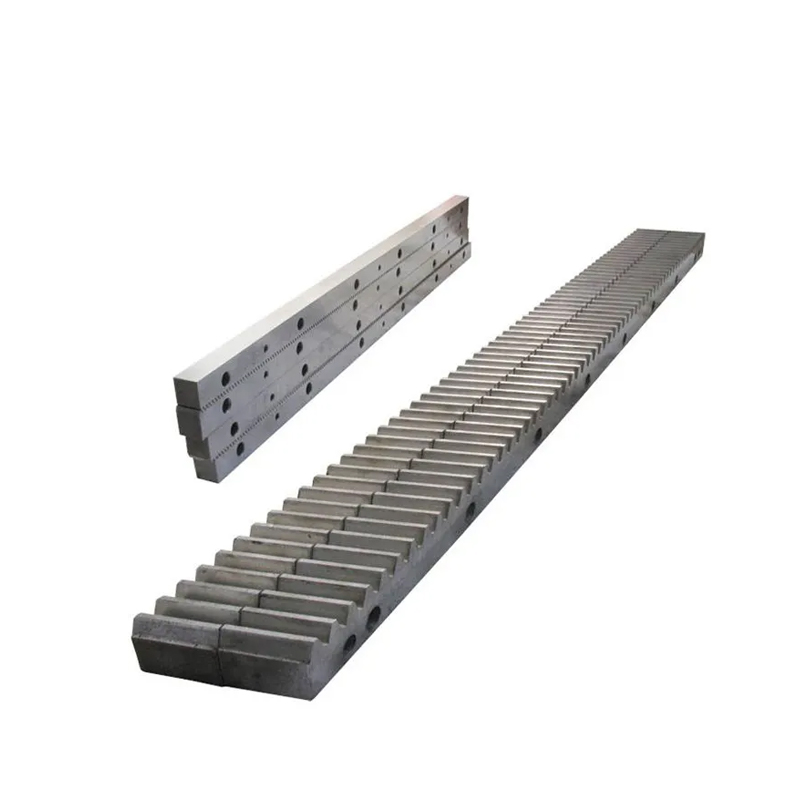
Screws steel straight gear rack for automatic doors is a linear transm...
See Details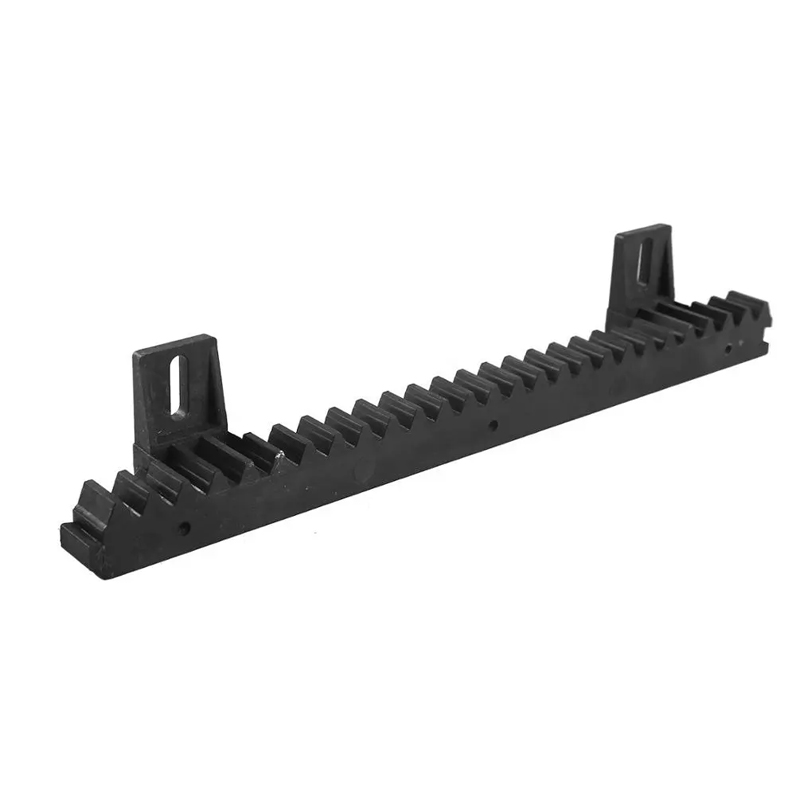
The Two-Hole Track Sliding Door Nylon Gear Rack is a mechanical compon...
See Details